
Content: Transcriptions and Subtitles
Every video you process gets a full transcript with word-level timing. You can view it, edit it, and download it in multiple formats.
Your Transcript
Section titled “Your Transcript”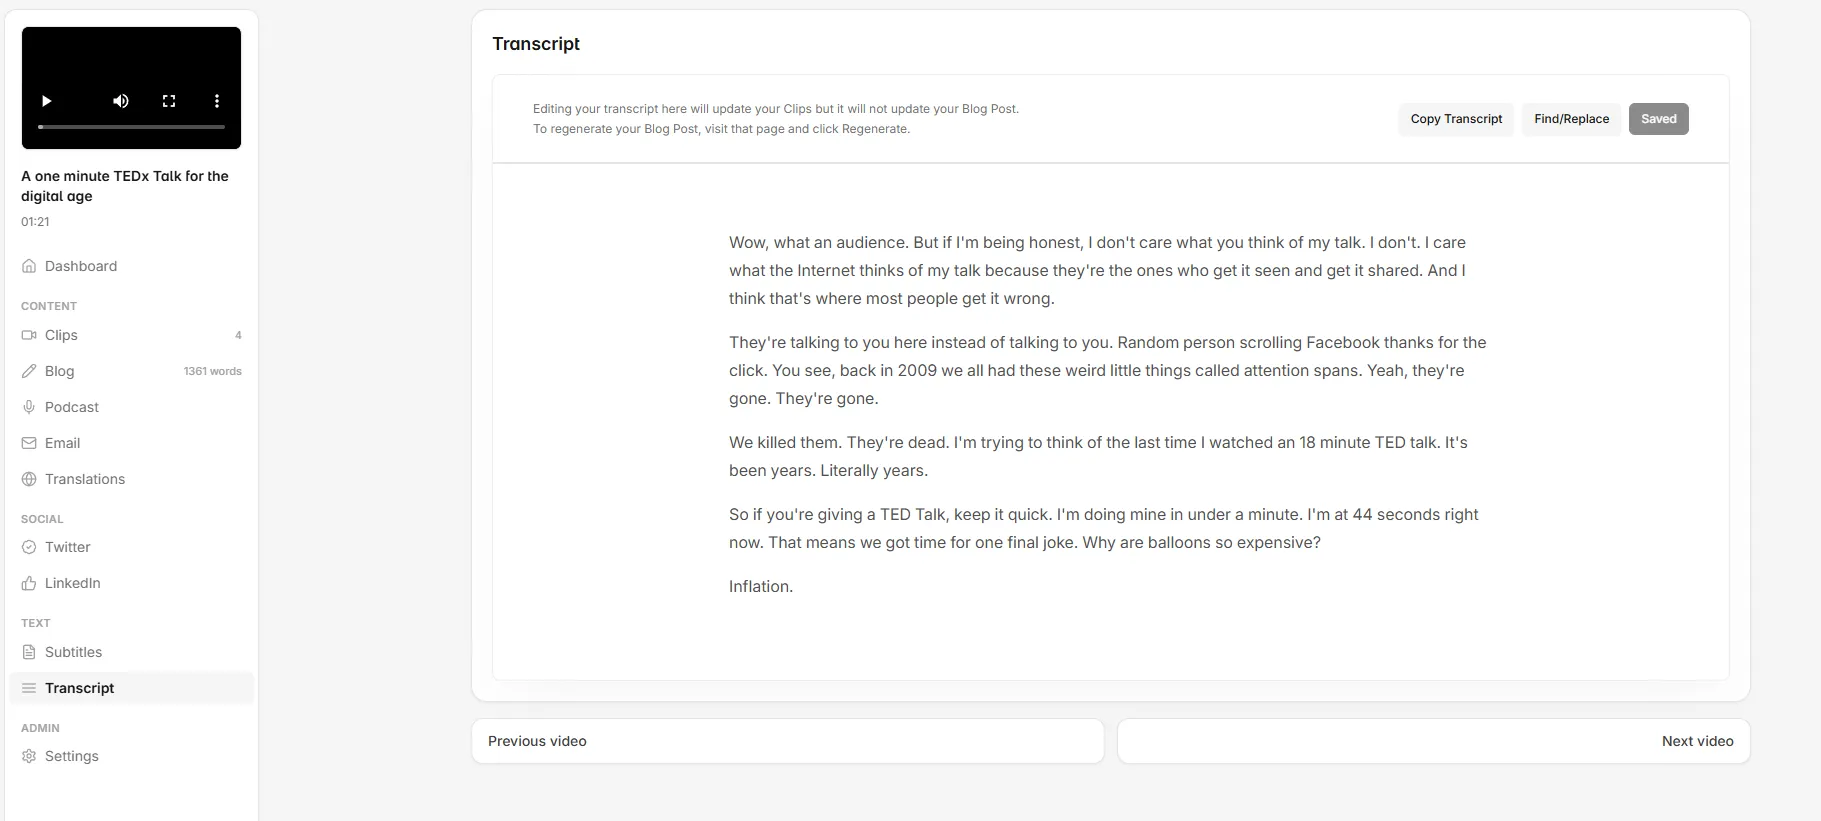
- Open your video from the dashboard
- Click Transcript in the left sidebar
- You’ll see the full text of your video, broken into paragraphs
The transcript is generated automatically using AI-powered speech recognition. It handles most languages and accents well, though you may need to fix the occasional word.
Editing the Transcript
Section titled “Editing the Transcript”Click Edit Transcript to enter editing mode. You can:
- Click on any word to change it
- Use Find and Replace to fix recurring errors (great for fixing a misspelled name across the entire transcript)
- Changes save automatically
Transcript edits also update the captions in your clips, since clips pull their text from the main transcript.
Improving Transcription Accuracy
Section titled “Improving Transcription Accuracy”Two settings make a big difference:
Vocabulary
Section titled “Vocabulary”Add important words to Settings → Custom Spelling and Vocabulary Settings. The transcription engine will then expect those terms. Good candidates:
- Brand names
- Product names
- People’s names
- Industry jargon
- Acronyms
For full details, see Custom vocabulary.
Preferred Language
Section titled “Preferred Language”Go to Settings in your dashboard and set your Preferred Language. This prevents the auto-detection from guessing wrong, which occasionally happens with bilingual speakers or accented English.
Downloading Subtitles
Section titled “Downloading Subtitles”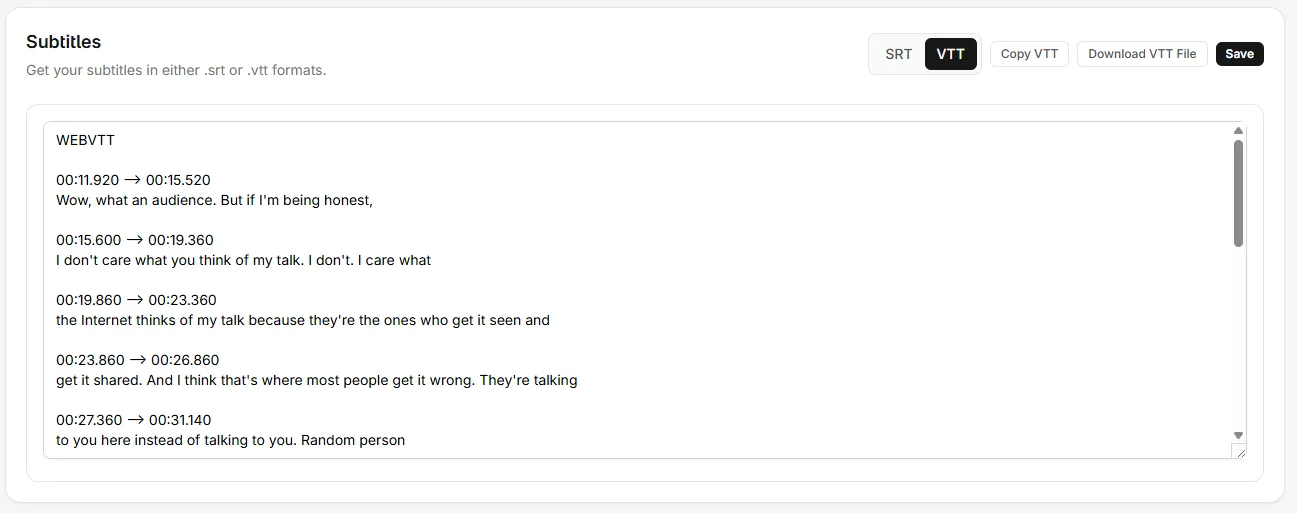
Click Subtitles in the left sidebar of your video page. You can download in two formats:
VTT (WebVTT)
Section titled “VTT (WebVTT)”The standard format for web video players. Works with most website video players and platforms.
SRT (SubRip)
Section titled “SRT (SubRip)”The most widely supported subtitle format. Works with YouTube, Vimeo, social media platforms, and video editing software.
Both formats include timestamps so the subtitles sync with your video.
Downloading in Bulk
Section titled “Downloading in Bulk”Subtitles and transcripts download one video at a time, from each video’s own page. There is no multi-video bulk download.
Language Support
Section titled “Language Support”Video Tap supports 99+ languages for transcription. The language is usually auto-detected, but you can set it manually per video or set a default in Settings.
If the auto-detection picks the wrong language, it can affect transcription quality. Setting the preferred language in Settings is the easiest fix.
Translations
Section titled “Translations”Video Tap can translate your blog post into 100+ languages, from Afrikaans to Zulu.
How to Translate
Section titled “How to Translate”- Open your video from the dashboard
- Click Translations in the left sidebar
- Select a target language from the dropdown
- Click to generate the translation
The translation is generated from your blog post content (not the raw transcript). Each translation is stored separately, so you can have multiple language versions of the same blog post.
You can view any translation by clicking on its language name in the Translations section.
Supported Languages Include
Section titled “Supported Languages Include”Spanish, French, German, Portuguese, Japanese, Korean, Chinese (Simplified and Traditional), Arabic, Hindi, Italian, Dutch, Russian, Swedish, Turkish, Vietnamese, Thai, Polish, and 100+ more.
- Translate after your blog post is finalized. If you edit the blog post later, you’ll want to regenerate the translation.
- Each translation is independent, so editing one doesn’t affect others.
Common Issues
Section titled “Common Issues”- Wrong language detected: Set your preferred language in Settings before uploading.
- Names and jargon misspelled: Add them to the Vocabulary field before processing, or use Find and Replace in the transcript editor.
- Missing words or garbled text: This usually means the audio quality is low. Videos with clean audio and minimal background noise produce much better transcripts.